
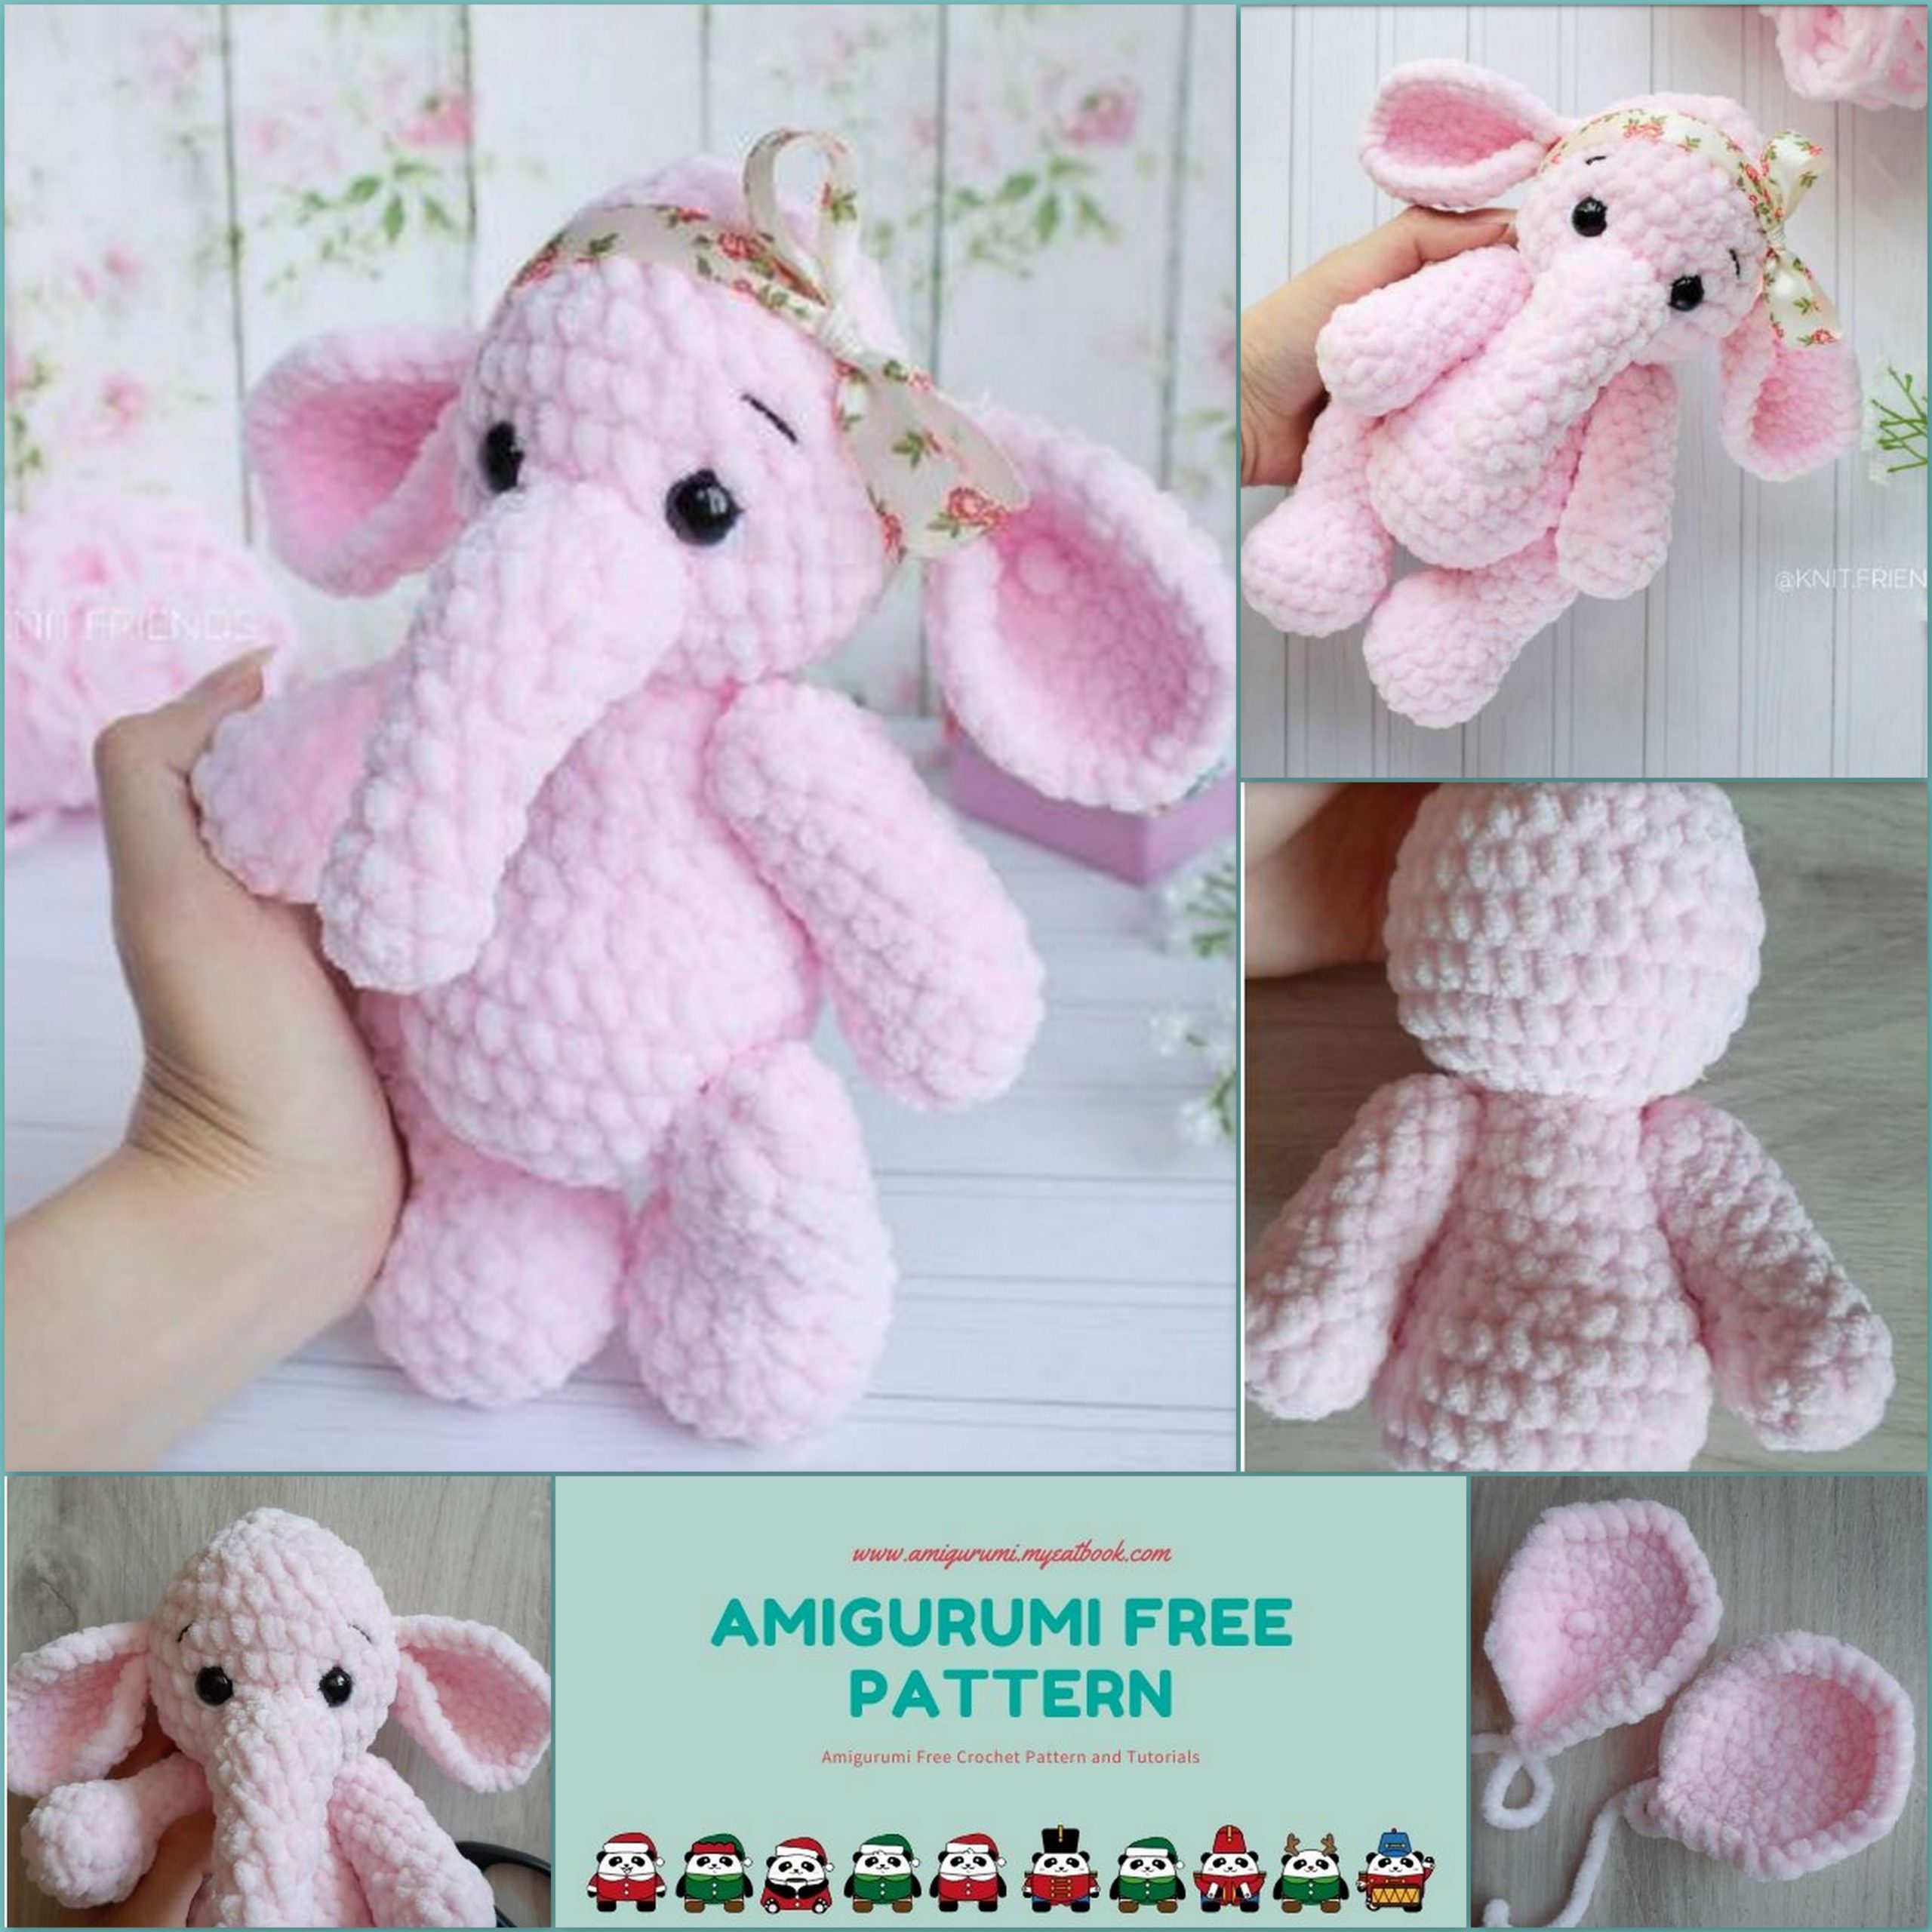
Amigurumi Elephant Cub Free Pattern nformation on MK
To bind a toy for this MK, you must have basic skills
List of materials used:
1. HIMALAYA DOLPHIN BABY – 1 skein (I even have half left),
color 80303
2. Hook number 4
3. Holofiber filler
4. Eyes – I do not use safe eyes. I have sewn eyes
(like buttons with an eye on the bottom) with a diameter of 10 mm.
5. White thread for decoration of the protein under the eye. I have a YarnArt Baby
white.
6. Clay Crystal Moment (we will glue the protein under the eye to
the thread did not slip away)
7. Satin ribbon on the head.
Legend:
Designation What means Designation What means
Magic ring- Amigurumi ring
Ch- Air loop
İnc- Having addedMagic ring
Sc- Single crochet
Dec- Decrease
Dc- Double crochet
We knit in a spiral, without closing each row. We also use a marker.
When using these materials elephant obtained approximately 22
cm tall.
Body head
1 row: 6 Sc in Magic ring (6)
2 row: İnc * 6 (12)
3 row: (1Sc, İnc) * 6 (18)
4 row: (2Sc, İnc) * 6 (24)
5 row: (3Sc, İnc) * 6 (30)
6-8 rows (3 rows): 30 Sc (30)
9 row: 5 Sc, (2Sc, Dec) * 5, 5 Sc (25)
10 row: 5 Sc, (1Sc, Dec) * 5, 5 Sc (20)
11 row: 20 Sc (20)
12 row: (8 Sc, Dec) * 2 (18)
Detail to fill, forming a tidy,
plump belly
13-14 rows (2 rows): 18 Sc (18)
15 row: (1 Sc, Dec) * 6 (12)
16 row: 12 Sc (12)
Start knitting your head
17 row: İnc * 12 (24)
18 row: (3Sc, İnc) * 6 (30)
19-23 row (5 rows): 30 Sc (30).
24 row: (3 Sc, Dec) * 6 (24)
Detail fill, evenly
distributing filler inside the head
25 row: (2 Sc, Dec) * 6 (18)
26 row: 18 Sc (18)
27 row: (1 Sc, Dec) * 6 (12)
28 row: Dec * 6 (6). Fasten the thread and
cut off.


Legs
1 row: 6 Sc in Magic ring (6)
2 row: İnc * 6 (12)
3 row: (1 Sc, İnc) * 6 (18)
4-5 row (2 rows): 18 Sc (18)
6 row: 3 Sc, 6 Dec, 3 Sc (12)
7 row: 3 Sc, 3 Dec, 3 Sc (9)
8-12 row (5 rows): 9 Sc (9)
13 row: decrease before closing. A thread
fasten and cut off.
Hands
1 row: 6 Sc in Magic ring (6)
2 row: İnc * 6 (12)
3-4 row (2 rows): 12 Sc (12)
5 row: 3 Sc, 3 Dec, 3 Sc (9)
6 row: 4 Sc, Dec, 3 Sc (8)
Well stuff the cam. Then we stuff weakly.
7-8 row (2 rows): 8 Sc (8)
9 row: 6 Sc, Dec (7)
10-11 row (2 rows): 7 Sc (7)
12 row: decrease before closing. A thread
fasten and cut off.
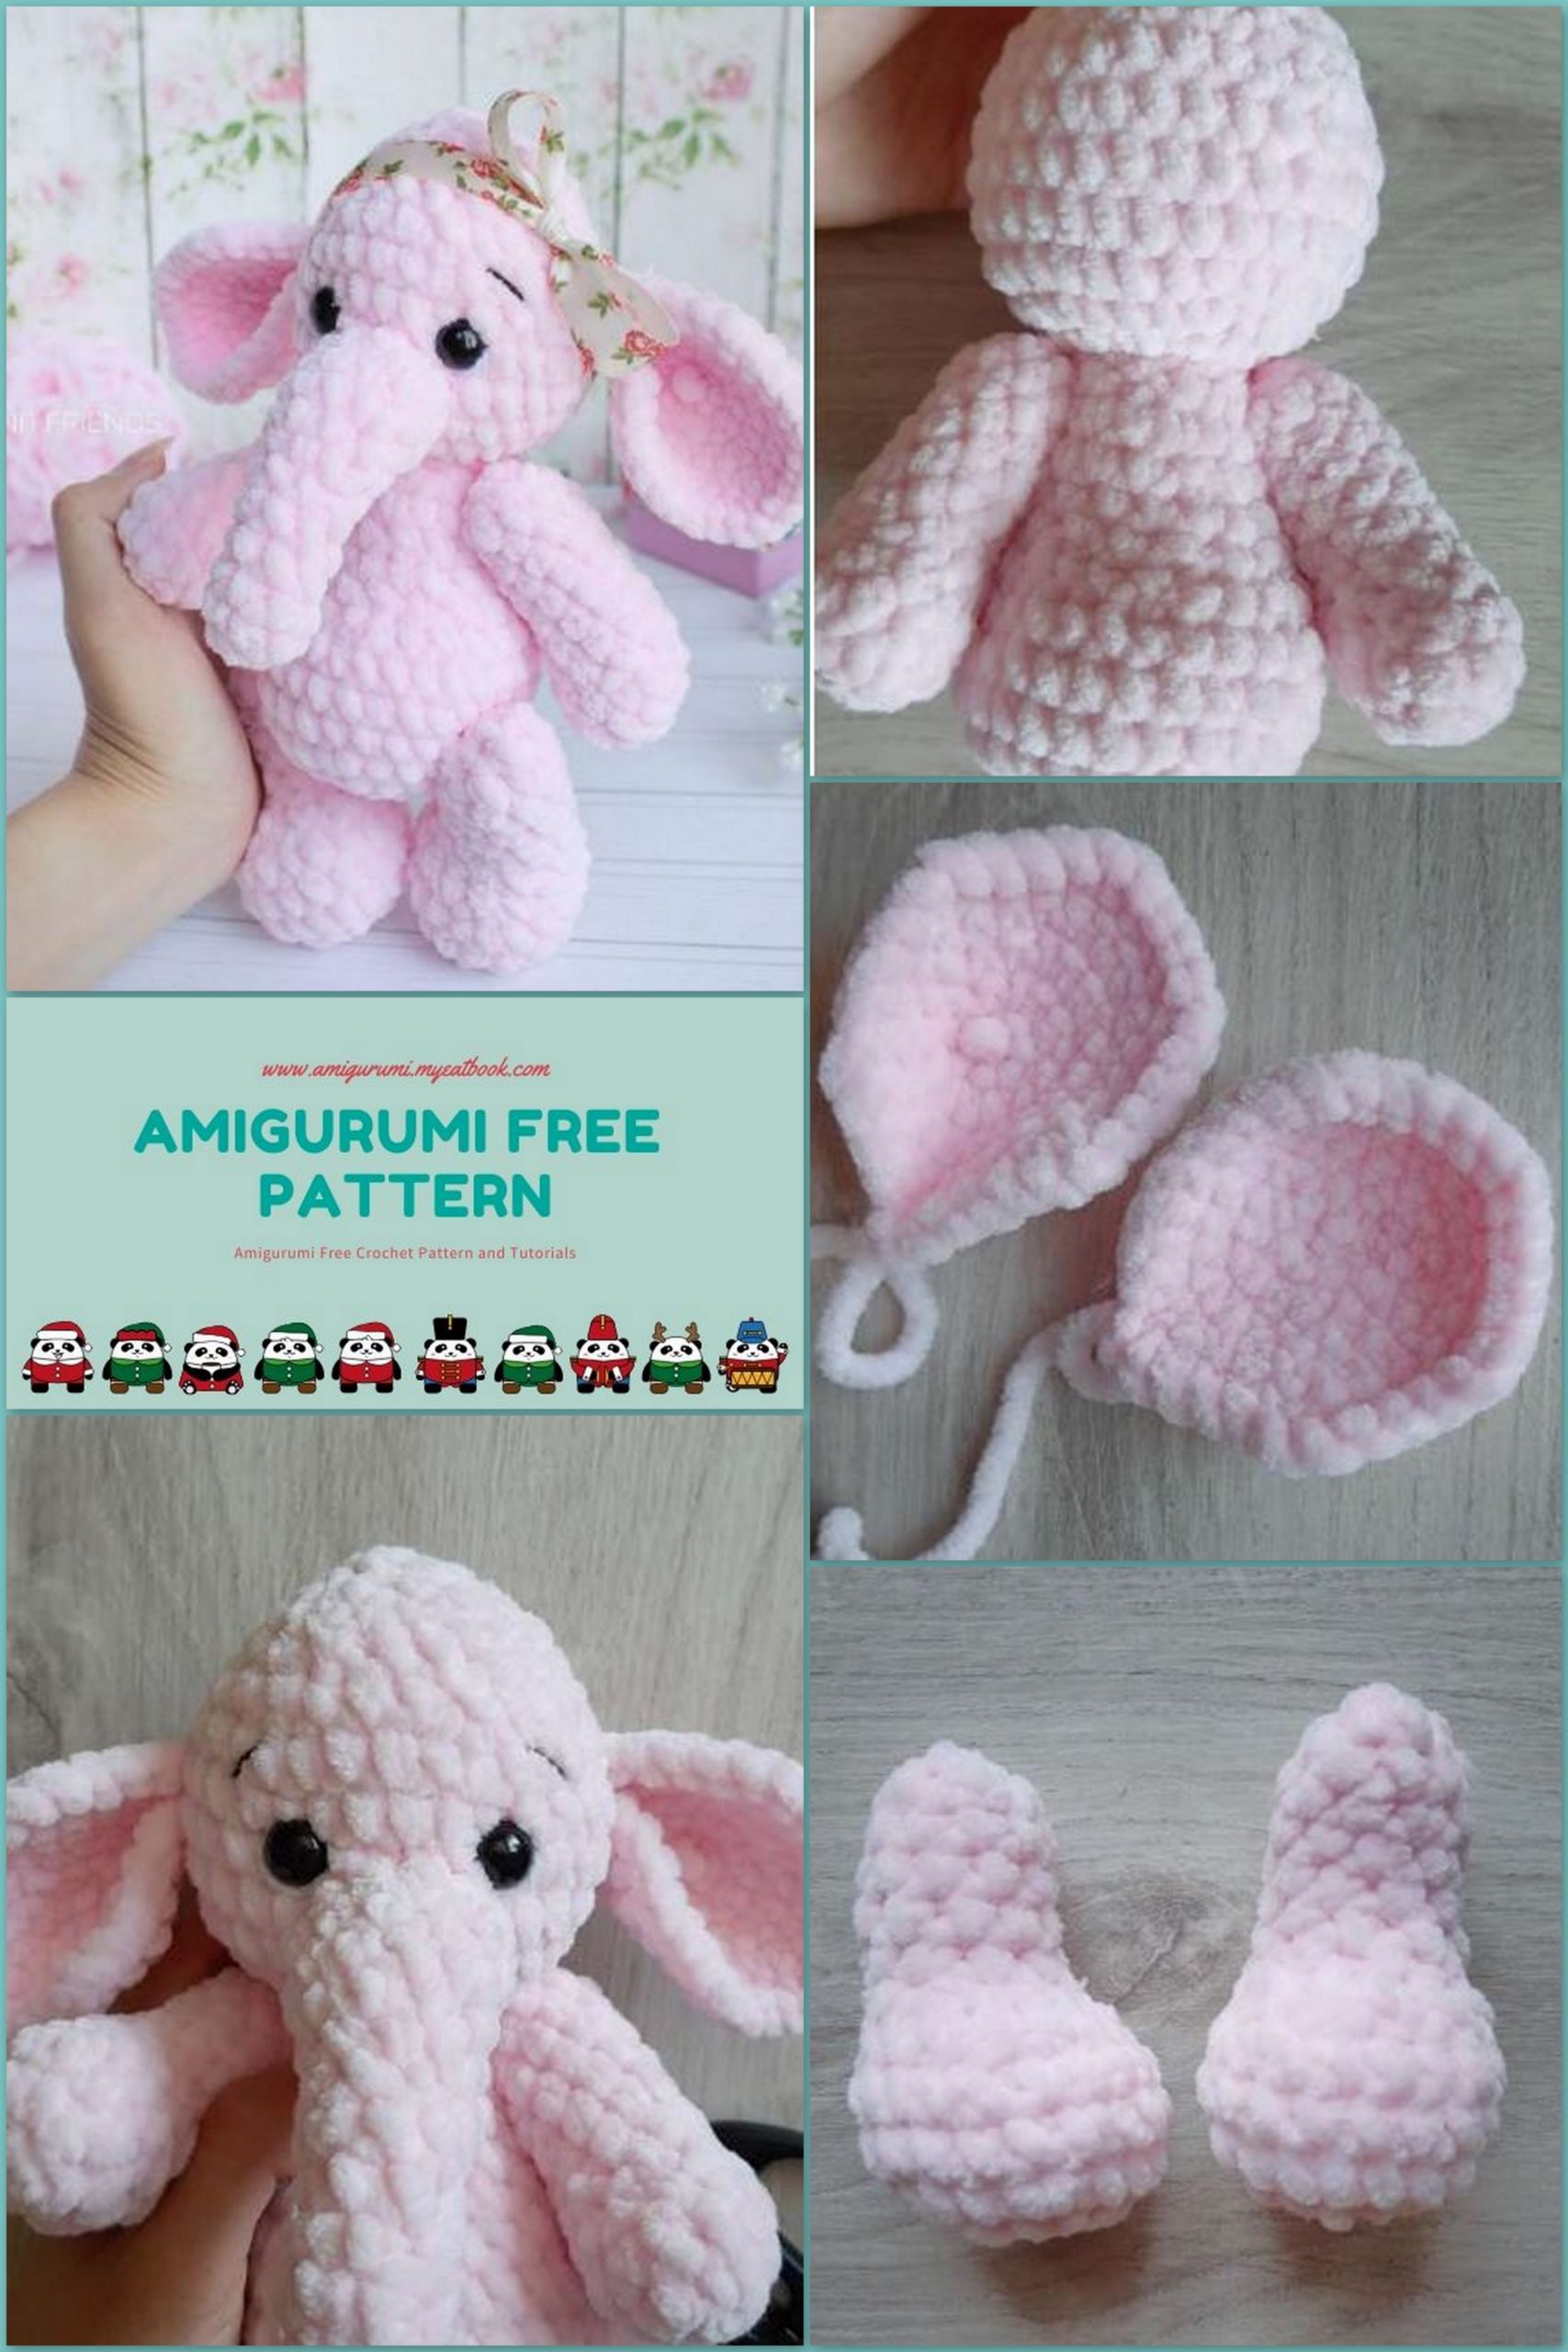
Ears
1 row: 6 Sc in Magic ring (6)
2 row: İnc * 6 (12)
3 row: (1 Sc, İnc) * 6 (18)
4th row: (2 Sc, İnc) * 6 (24)
5 row: (3 Sc, İnc) * 6 (30)
Fasten and cut the thread.
Trunk
1 row: 6 Sc in Magic ring (6)
2-5 row (4 rows): 6 Sc (6)
6 row: İnc, 5 Sc (7)
7 row: 7 Sc (7)
8 row: İnc, 6 Sc (8)
9 row: 5 Sc, İnc, 2 Sc (9)
10 row: 9 Sc (9)
11 row: 2 Sc, İnc, 2 Sc, 4 Dc (10)
12 row: 2 Sc knit, thread
fasten and cut
Assembly and design
1. Handles and legs are fastened with a thread fastener.
When fixing the handles and legs, focus on these photos. On the next
The page will be a diagram of the thread fastening and explanations for it:
Enter and withdraw the needle
strictly at one point.
For the hands: insert the needle into
body and bring to the place of attachment
SECOND HANDS.
Grab several rows of this hand and insert the needle.
back to the body.
We display in the place of attachment of the first hand and grab
several of her rows. We will have an end
threads sticking out
pens, and
initial hand.
With legs similarly, only all actions begin from the lowest point
torso.
2. Sew the trunk. The trunk should be sewn up by the side
where we made double crochet. First we attach the part with
using pins, we find a “good” position, then sew.
We stuff the trunk a little in the widest place.
3. Since I used the sewing eyes, then
Now I need to sew them. Sew next to the trunk.
These eyes are good for making them
a little tightening.
So I put in a needle for
sewing on the bottom
the back of the head.
Then put the eye on
the needle and go back to
initial point.
Tighten the knot – sewed an eye and made a tightening. Second eye
sew in the same way.
4. Sew on the ears. The eye is almost a circle. Fold it
in half, and move the upper half a little up. Sew them for both
walls in that position.
Now try on ears ki elephant.
First fasten with pins,
align, then sew.
5. We embroider the dark eyebrows
a thread.
6. Making out eyes with
white strings. Before I go around the eye with this thread, I
I coat it with glue. Put a little toothpick and smear
the lower part of the eye where the thread will pass. Then embroider
squirrels. Thus, the thread will not slide over time
eye.
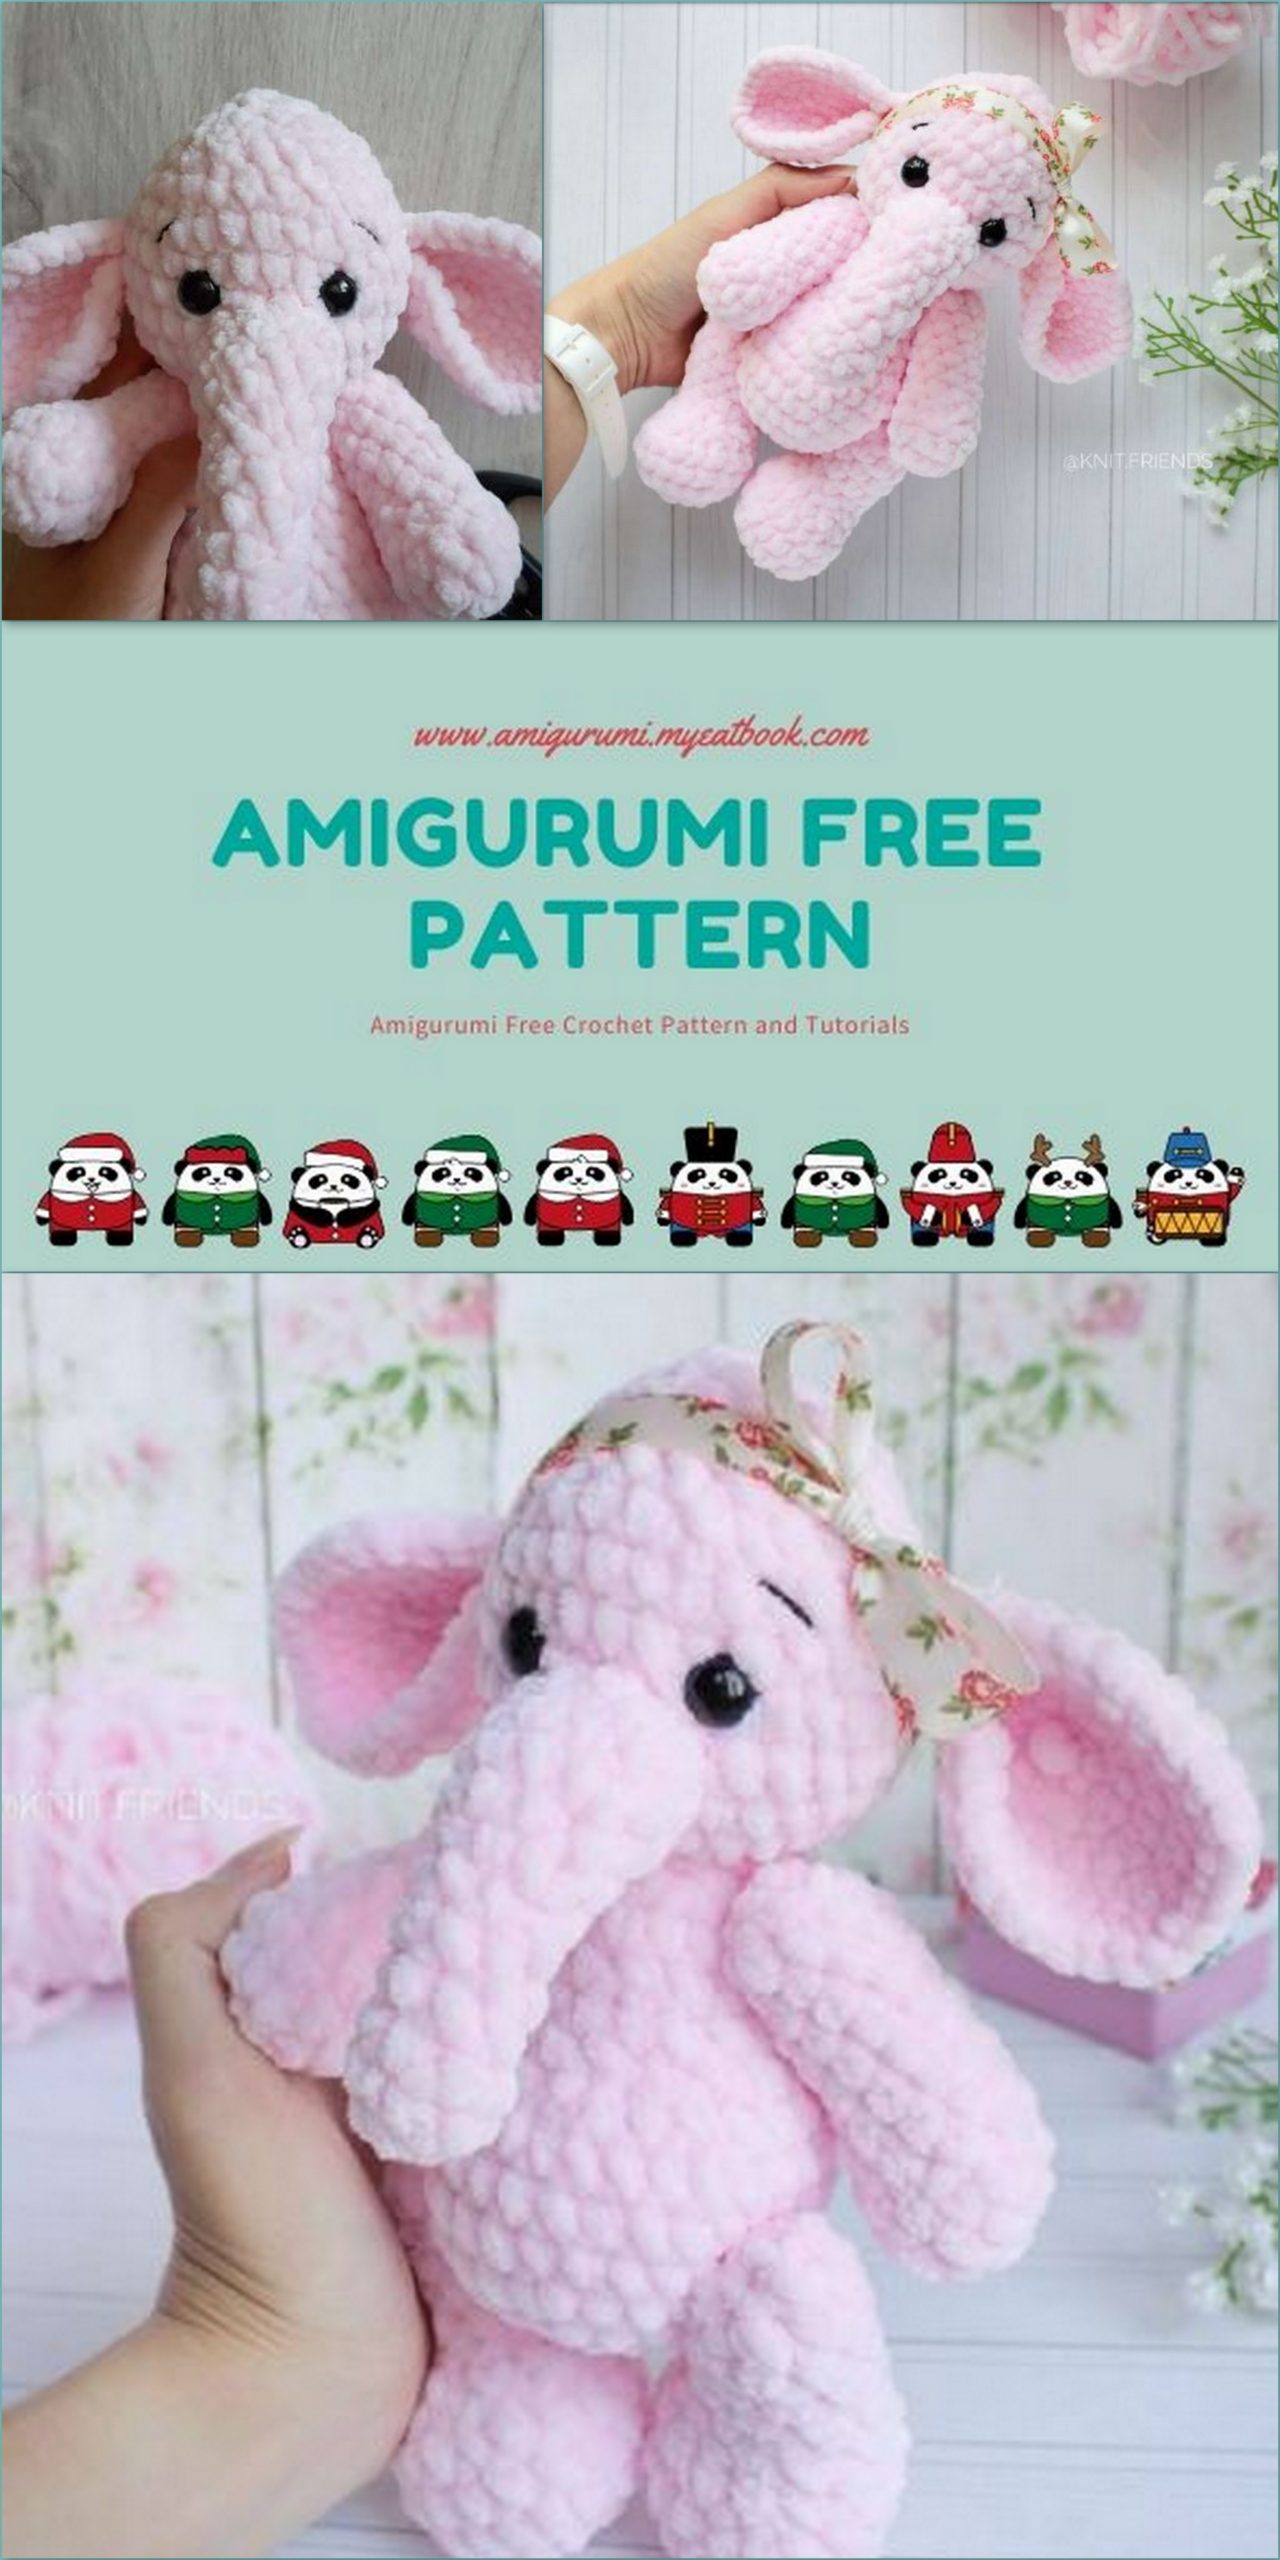
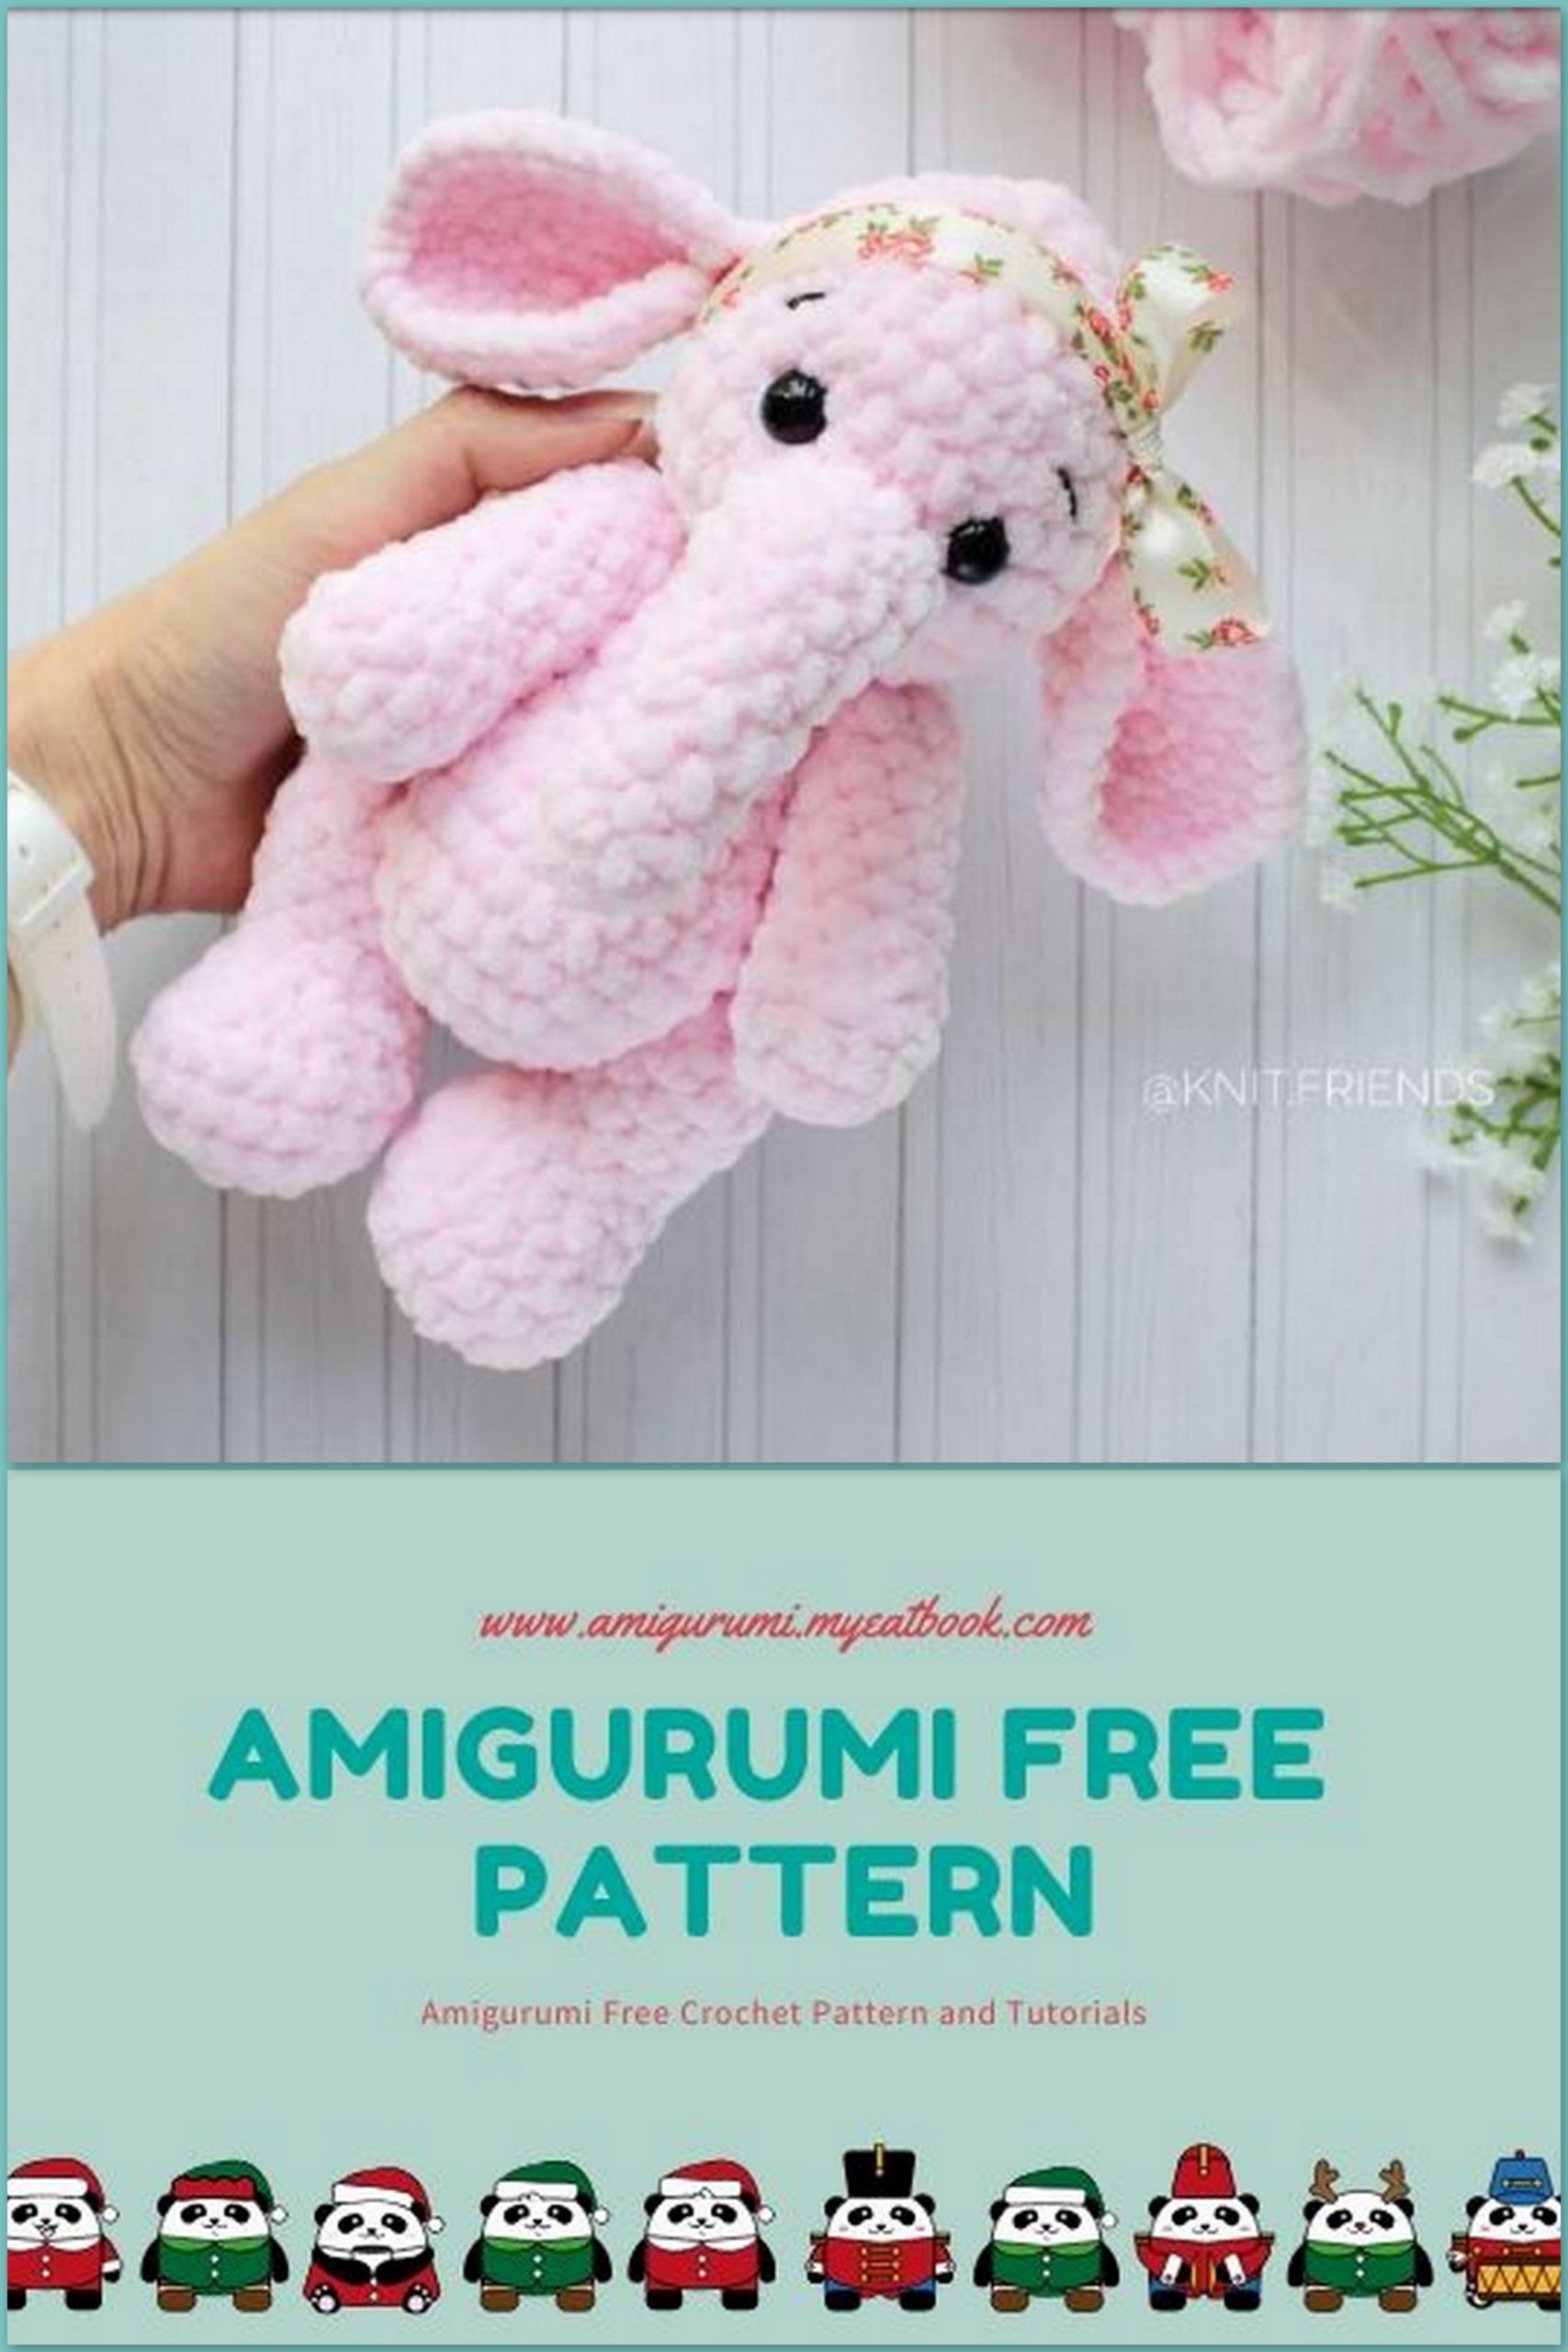
Little elephant is ready! I tied a bow from a satin ribbon on her head.
That’s so simple and cute
You can show your toy in this album in VK: