VKontakte group https://vk.com/kostochenkovatoys
TOOLS AND MATERIALS
1. Yarn of the main color – Yarn Art Jeans (half-cotton, 50 g /
160 m) sand color No. 07;
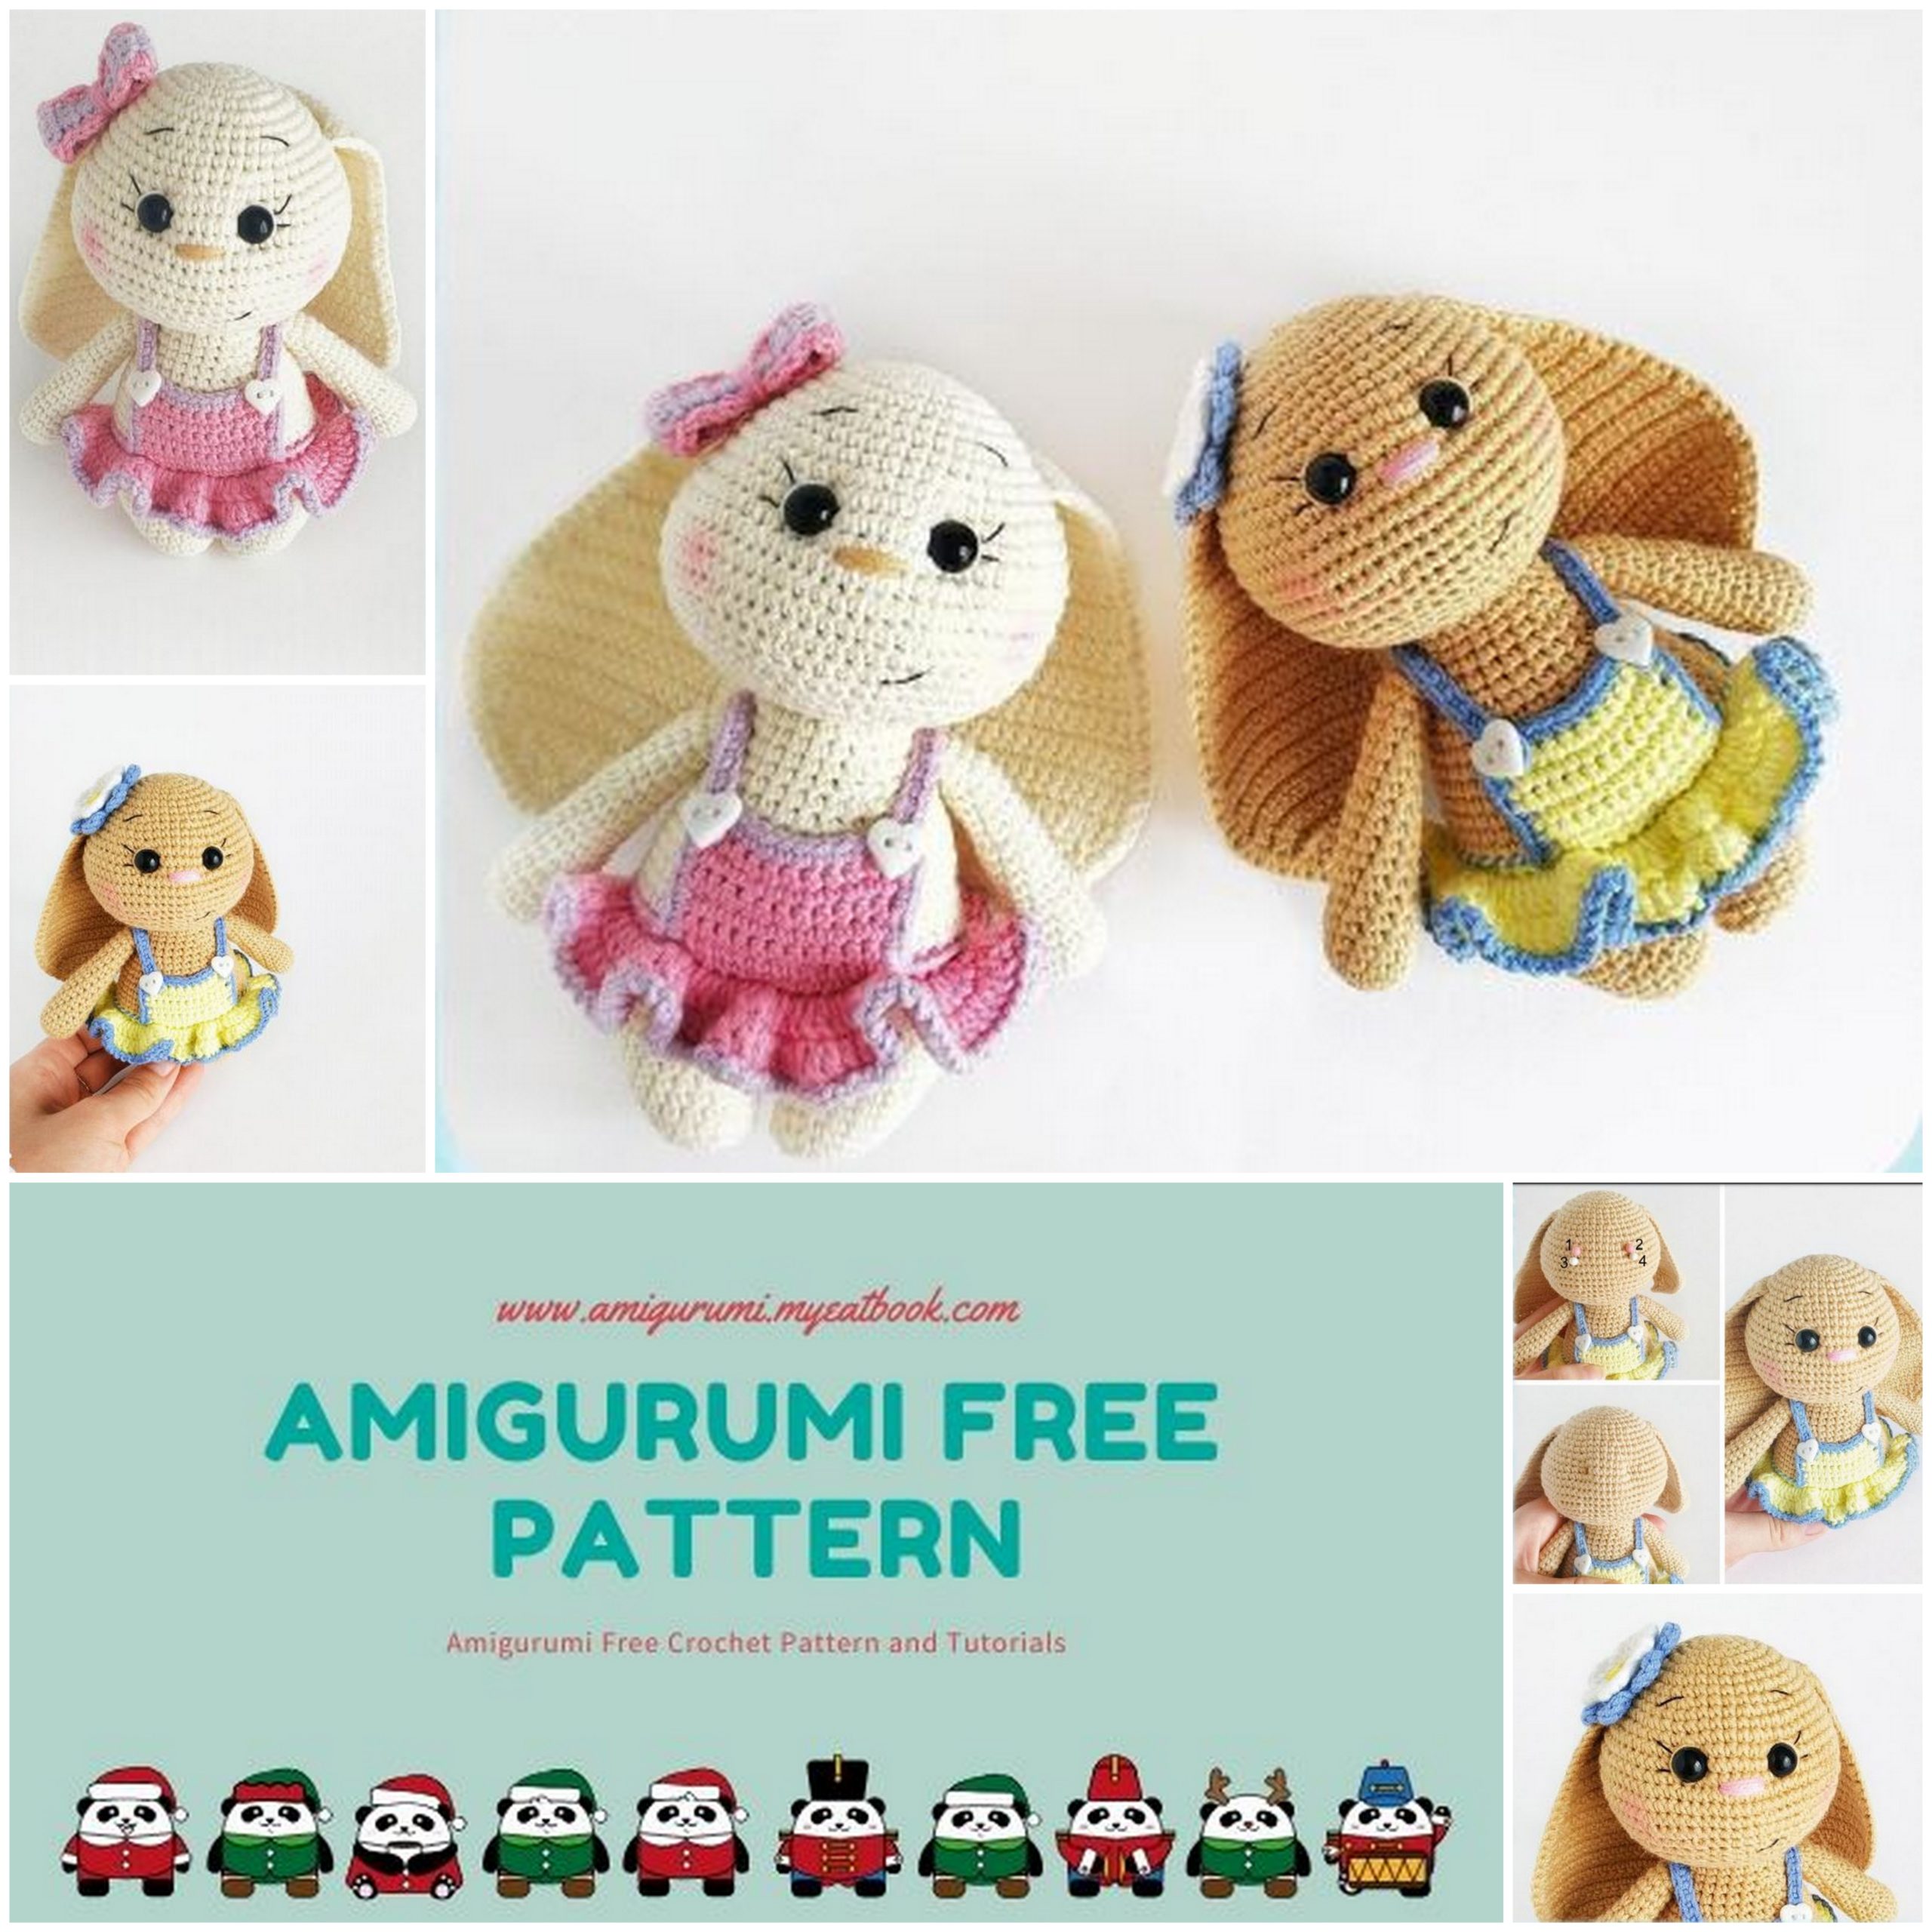
2. Yarn of additional colors for a dress and a bow /
flower – Yarn Art Jeans No. 15 in blue and No. 67 in light yellow;
3. Hook number 2;
4. The filler is holofiber;
5. Scissors;
6. Thick needle for stitching parts;
7. Screw eyes with a diameter of 10 mm;
8. Black sewing thread and a little pink yarn for
design muzzle and white yarn for a flower;
9. Buttons for decoration;
10. Dry pastels.
CONVENTIONS
ch – chain
sc – single crochet;
blo – back half loop;
inc – increase (two columns from one);
dec – decrease (two columns together).
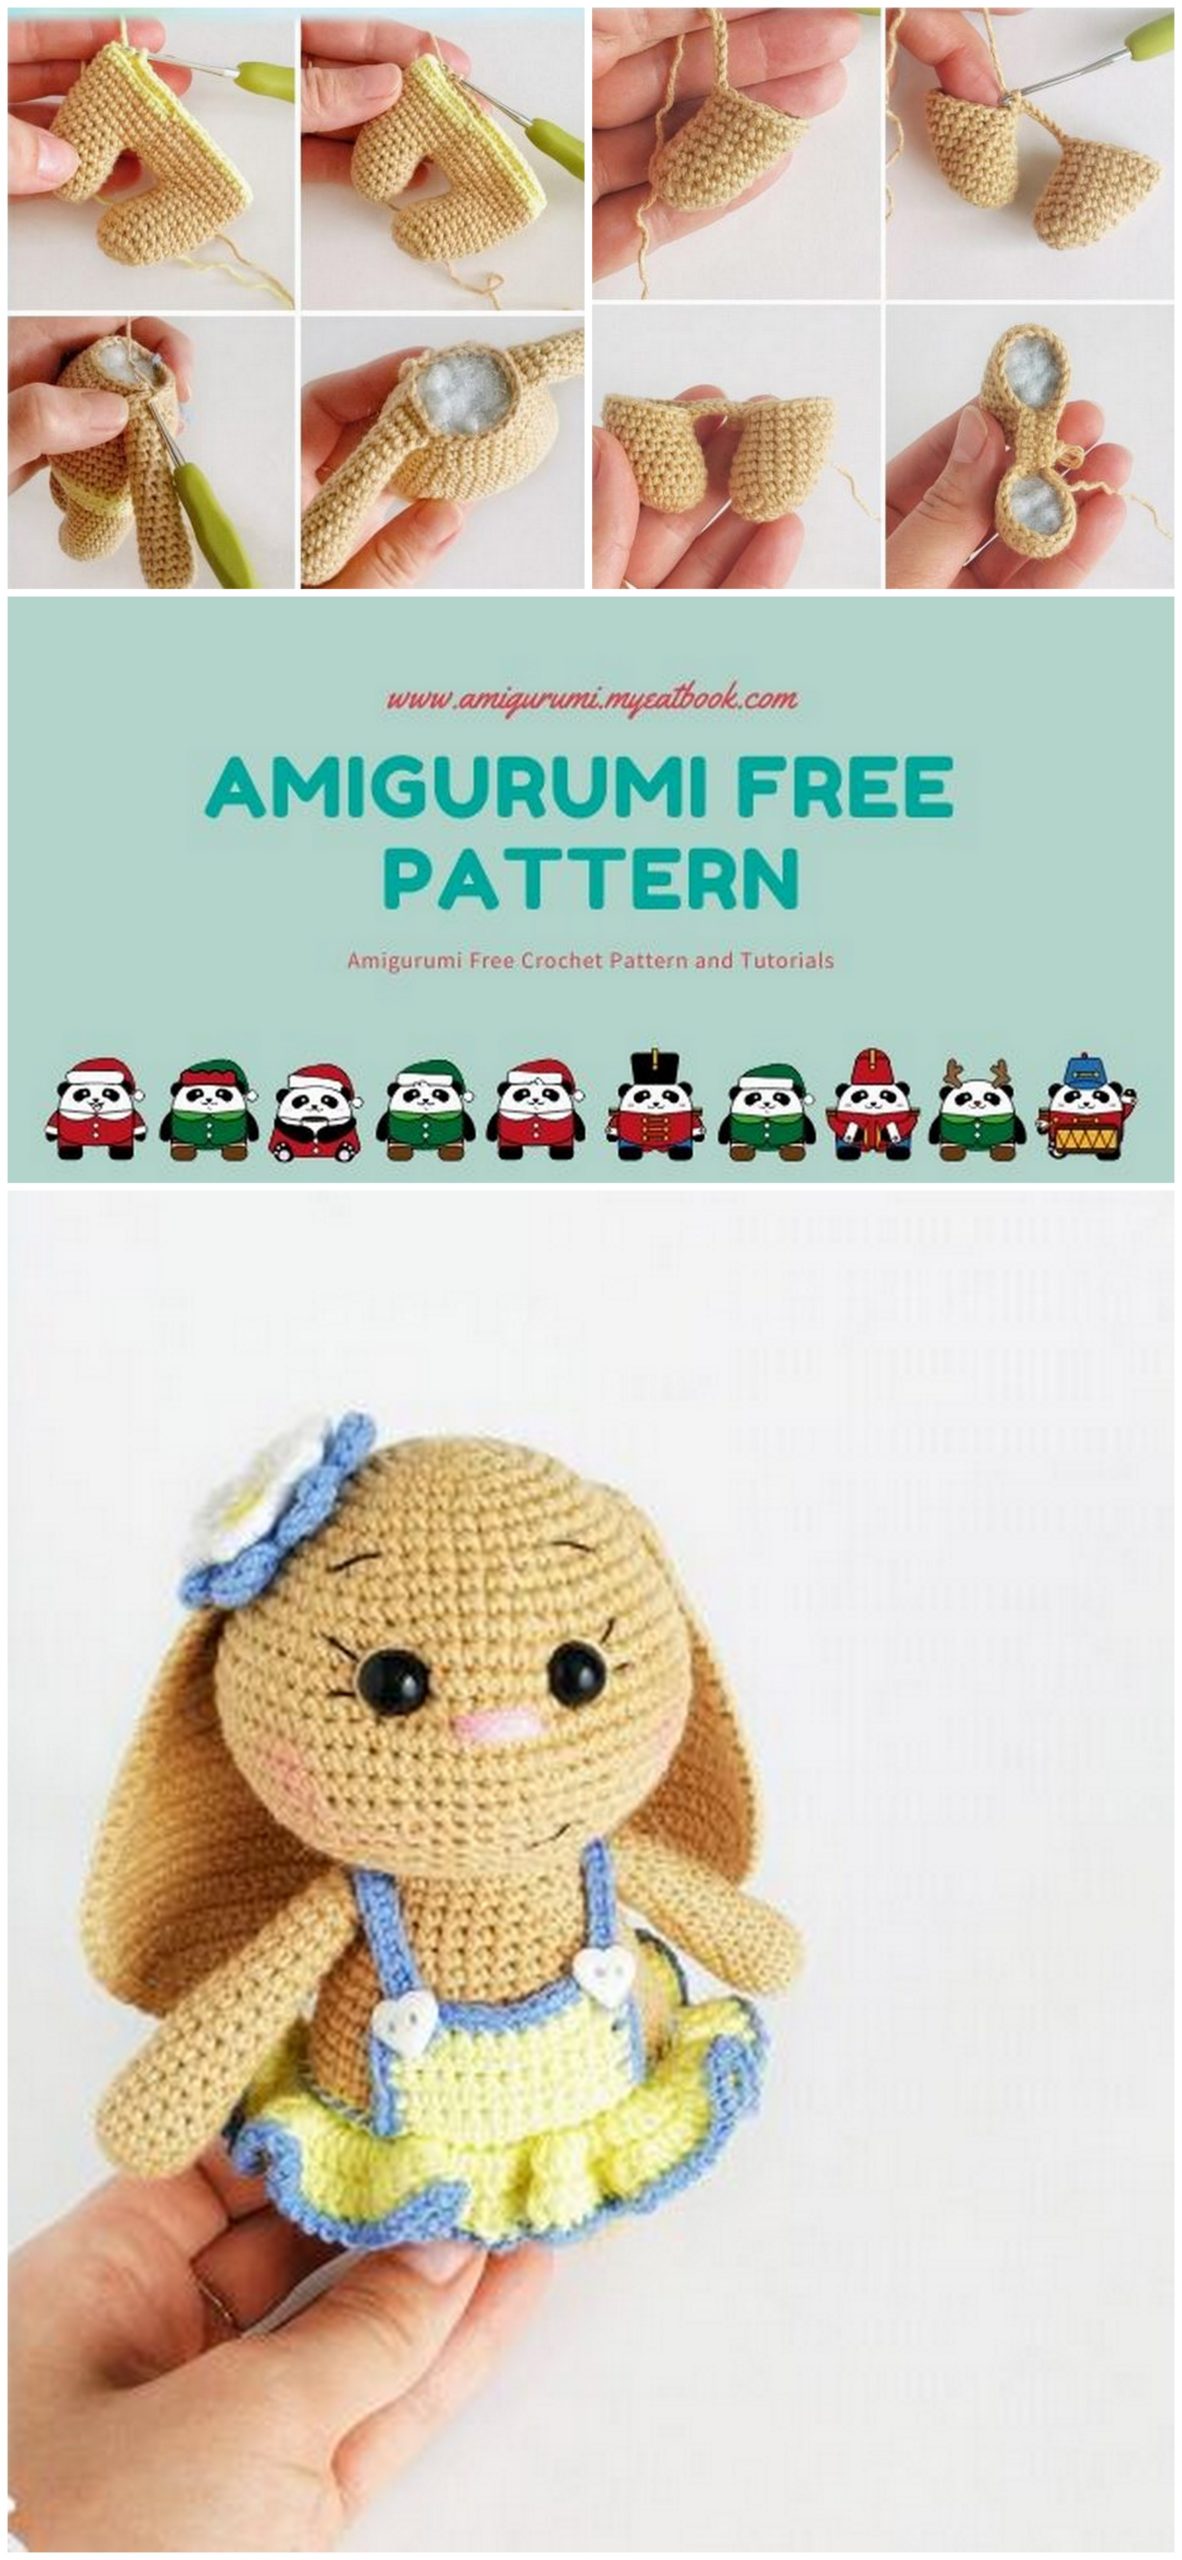
HANDLES (2 parts)
We knit with the thread of the main color, fill as we knit.
1p – 6 sc into magic ring;
2p – 6 inc (12);
3-7p – 12 sc;
8p – (dec, 4 sc) * 2 (10);
9-13r – 10 sc;
14p – (dec, 3 sc) * 2 (8);
15-20r – 8 sc.
Fold and join the edges, knitting 4 sc. Cut the thread, hide it inside the part (I suggest knitting the handles, if it is more convenient for you to sew to the body – leave the end for sewing).
LEGS (2 parts)
We knit with the thread of the main color, fill as we knit.
1p – 6 sc into magic ring;
2p – 6 inc (12);
3p – (1 sc, inc) * 6 (18);
4p – 18 sc;
5p – 2 dec, 6 sc, 2 inc, 6 sc (18);
6p – 18 sc;
7p – 2 dec, 6 sc, 2 inc, 6 sc (18);
8p – 18 sc;
9p – 2 dec, 6 sc, 2 inc, 6 sc (18);
10p – 18 sc.
On the second leg we knit one additional sc.
BODY
From the second leg we knit a chain of 6 ch, insert the hook into the 1st
a column of the last row of the left leg and begin to knit in a circle.
11p – 18 sc along the left foot, 6 sc along the chain,
18 sc along the right foot, 6 sc along the chain (48);
We put a marker
12-15r – 48 sc;
Change the thread to the one with which you will knit the dress. I have it
light yellow thread
16p – 48 sc;
17p – 48 sc per blo;
Change the thread to the main
18p – 48 sc per blo;
19p – 5 sc, (dec, 10 sc) * 3, dec, 5 sc (44);
20p – 44 sc;
21p – (9 sc, dec) * 4 (40);
22p – 40 sc;
23p – 4 sc, (dec, 8 sc) * 3, dec, 4 sc (36);
24p – 36 sc;
We fill
25p – (7 sc, dec) * 4 (32);
26p – 32 sc;
27p – 3 sc, (dec, 6 sc) * 3, dec, 3 sc (28);
28p – 28 sc;
29p – (5 sc, dec) * 4 (24);
30p – 5 sc, knit the handles of 4 sc, 8 sc,
we knit the second handle 4 sc, 3 sc (24);
31p – 24 sc.
Finish knitting, cut the thread, leaving a long end for sewing on the head. We fill.
HEAD
Knit with the thread of the main color, fill as you knit
1p – 6 sc into magic ring;
2p – 6 inc;
3p – (1 sc, inc) * 6 (18);
4p – 1 sc, (inc, 2 sc) * 5, inc, 1 sc (24);
5p – (3 sc, inc) * 6 (30);
6p – 2 sc, (inc, 4 sc) * 5, inc, 2 sc (36);
7p – 36 sc;
8p – (5 sc, inc) * 6 (42);
9p – 42 sc;
10p – 3 sc, (inc, 6 sc) * 5, inc, 3 sc (48);
11p – (7 sc, inc) * 6 (54);
12p – 4 sc, (inc, 8 sc) * 5, inc, 4 sc (60);
13p – 60 sc;
14p – (9 sc, inc) * 6 (66);
15p – 5 sc, (inc, 10 sc) * 5, inc, 5 sc (72);
16-17p – 72 sc;
18p – 5 sc, (dec, 10 sc) * 5, dec, 5 sc (66);
If you prefer to insert eyes, then it’s time
to do. I recommend inserting them between 12 and 13 rows, leaving 10 sc between them.
I will glue the eyes, so for now I’m not doing anything with them
19p – (9 sc, dec) * 6 (60);
20p – 4 sc, (dec, 8 sc) * 5, dec, 4 sc (54);
21p – (7 sc, dec) * 6 (48);
22p – 3 sc, (dec, 6 sc) * 5, dec, 3 sc (42);
23p – (5 sc, dec) * 6 (36);
24p – 2 sc, (dec, 4 sc) * 5, dec, 2 sc (30);
25p – (3 sc, dec) * 6 (24);
26p – 1 sc, (dec, 2 sc) * 5, dec, 1 sc (18);
27p – (1 sc, dec) * 6 (12);
28p – 6 dec (6).
Cut the thread, tighten the hole and hide the thread inside the part

EARS (2 parts)
We collect a chain of 10 ch + 1 ch,
we knit in rotary rows, at the beginning of each row we knit 1 ch
1-10r – 10 sc;
11p – 1 sc, pr, 6 sc, inc, 1 sc (12);
12-14p – 12 sc;
15p – 1 sc, inc, 8 sc, inc, 1 sc (14);
16-18r – 14 sc;
19p – 1 sc, inc, 10 sc, inc, 1 sc (16);
20-24r – 16 sc;
25p – 1 sc, dec, 10 sc, dec, 1 sc (14);
26p – 1 sc, dec, 8 sc, dec, 1 sc (12);
27p – 1 sc, dec, 6 sc, dec, 1 sc (10);
28p – 1 sc, dec, 4 sc, dec, 1 sc (8);
29p – 1 sc, dec, 2 sc, dec, 1 sc (6);
30p – 1 sc, 2 dec, 1 sc (4);
31p – 2 dec (2);
32p – dec (1).
Pull the thread, fix.
Fully tie the eye with one row sc.
We try on the head to the body and sew it, while we tightly stuff the neck so that the head does not dangle under its own weight. We don’t touch the ears yet. At this stage, they will interfere with knitting dresses.
DRESS
We return to the 17th row, which we knitted for blo and attach the thread to the last half-loop of the row.
1p – 2 ch, 1 CH in the same loop, then we knit inc from CH into each half-loop to the end of the row, end the row sl-st in the 2nd ch;
2p – 2 ch, inc from CH, (1 CH, inc from CH) * 47, we finish the sl-st row in the 2nd ch;
Change the thread to the one with which we will knit a ruffle.
3p – 1.ch, sl-st into the same loop, repeat to the end of the row.
Finish knitting, cut the thread and fasten.
Next, we knit the top of the dress. To do this, attach the thread to the 16th half-loop of the 18th row and knit 12 sc, then another 5 rows with rotary rows of 12 sc. At the beginning of each row we knit 1 ch, fasten the thread.
Tie the top of the dress 1 next to sc a thread of the same color that knitted the ruffle. We sew the remaining half loops of the 18th row, as shown in the photo.
To tie the strap we type 30 ch + 1 chп and knit 30 sc, we fix the thread. Sew the strap to the dress, decorate with buttons.
Muzzle Design
Sew on ears
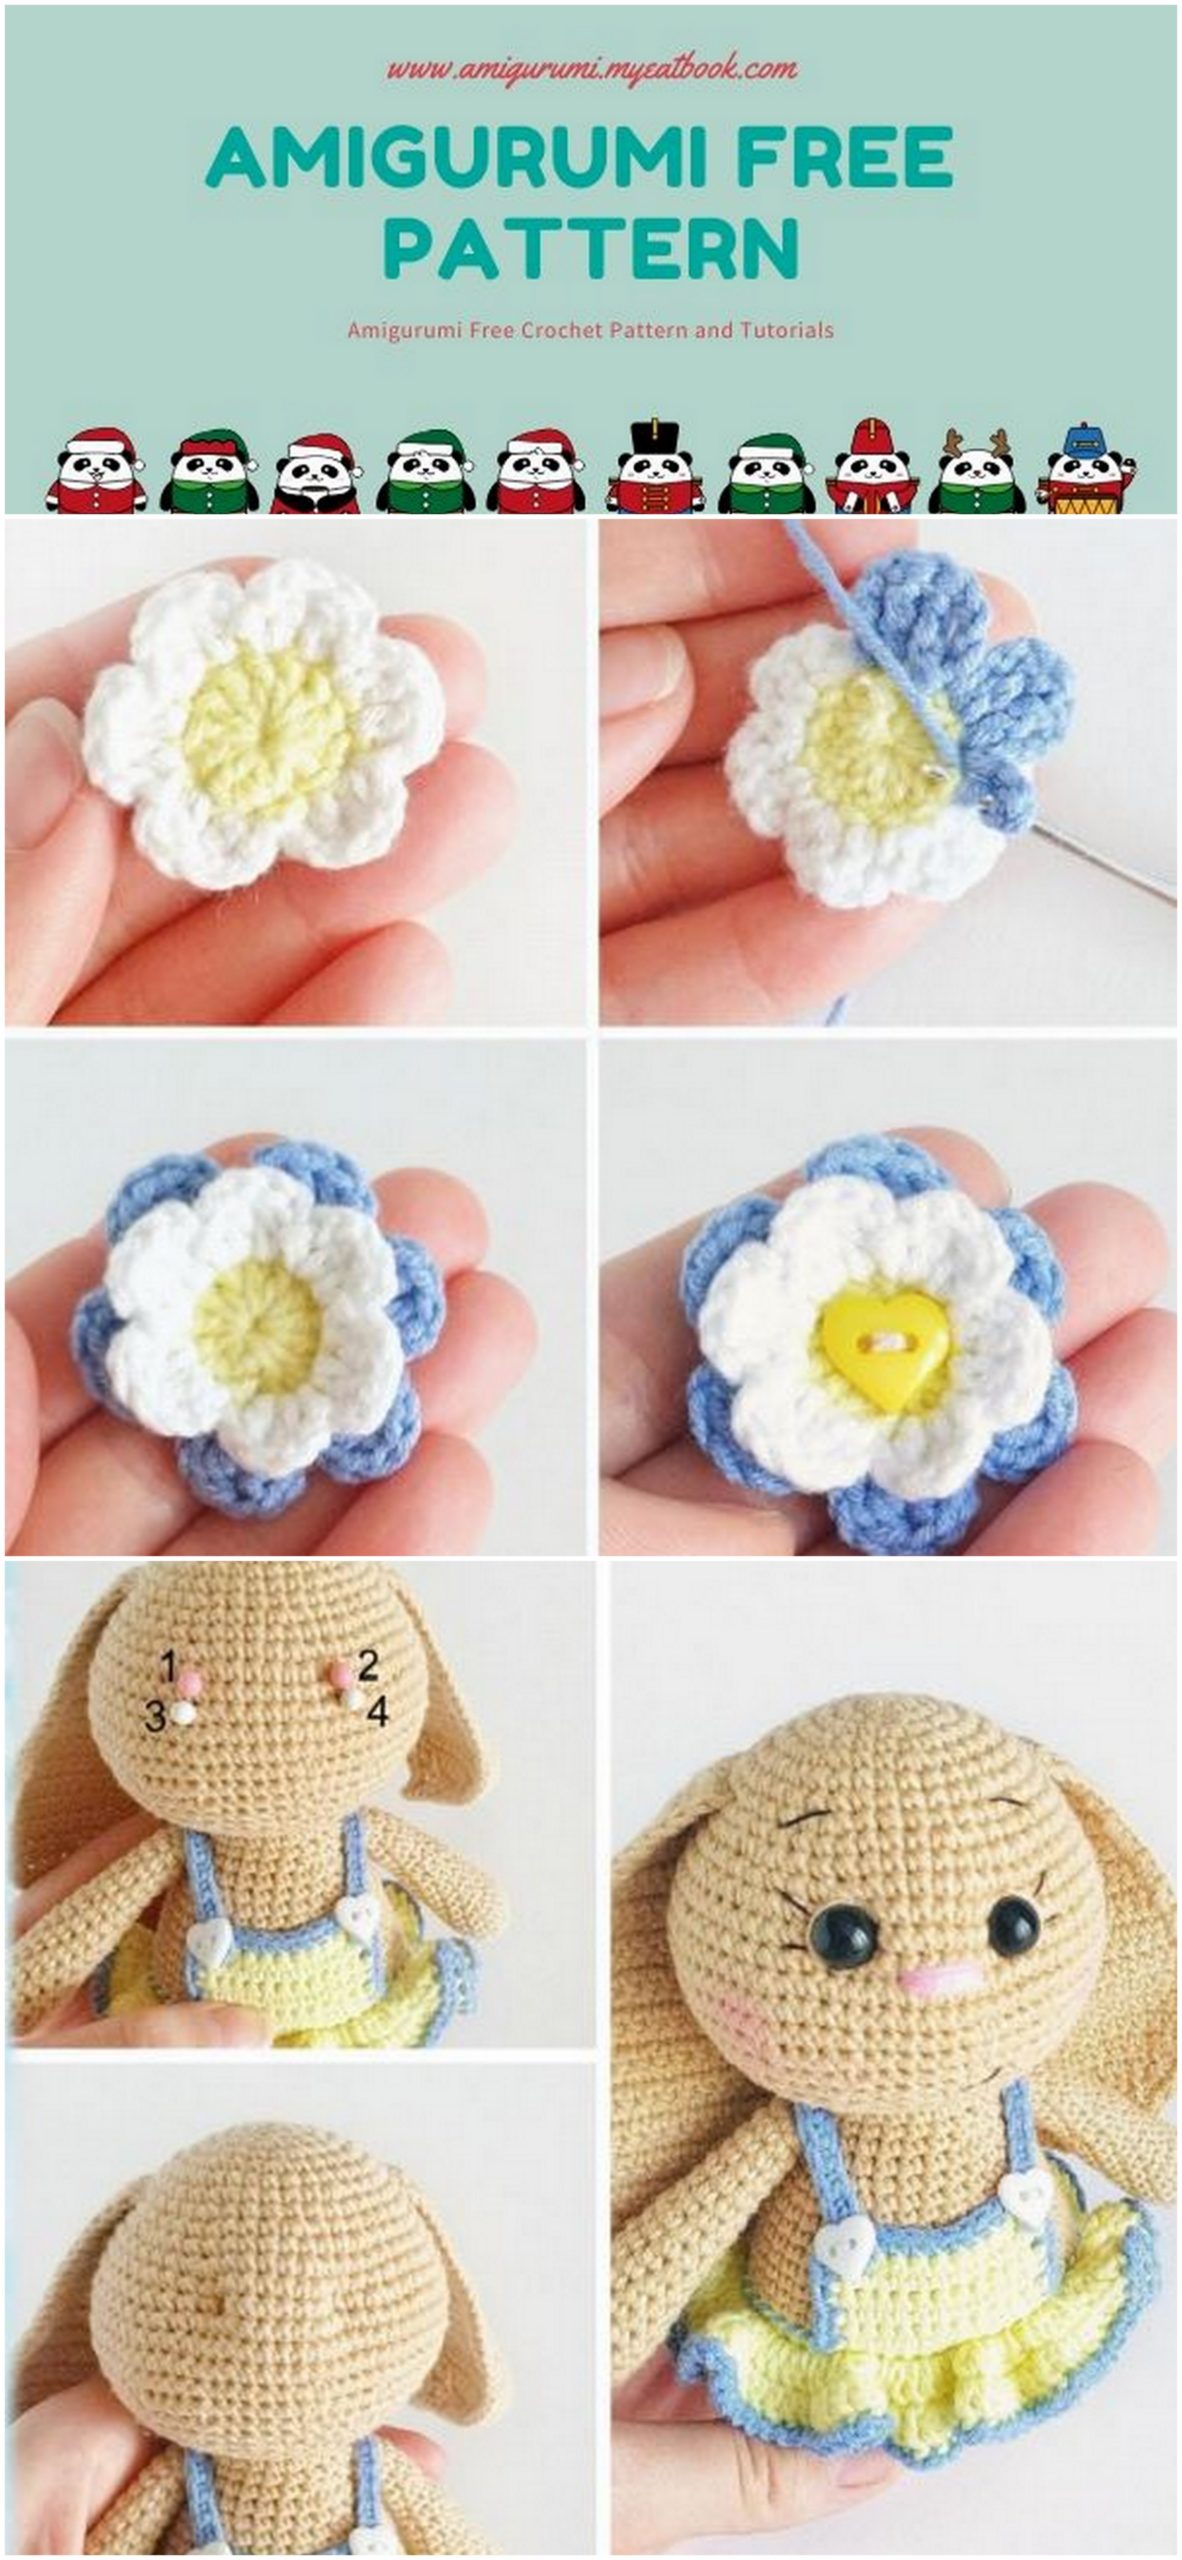
Now you need to make a tightening. To do this, outline points 1 and
2 between 12 and 13 nearby at a distance of 8 sc and points 3 and 4 on between 13 and
14 nearby at a distance of 8 sc (right below points 1 and 2).
Now insert the needle into the head, fix the thread and bring it to the point
1, then enter into the head at point 3 and output at point 2, pull the thread. Again, insert the needle into the head at point 4 and output at point 1, pull the thread. We repeat this movement 2-3 times, fasten the thread, cut and hide inside the head.
For those who inserted screw eyes, the principle of operation is similar. You enter the thread in the immediate vicinity of the eye according to the same pattern.
The next step, I ask my husband to saw off the eyes and glue them with a glue gun. Then I embroider the whites of the eyes, nose, eyebrows, cilia and mouth, tint the cheeks with dry pastel, and iron the ears.
ACCESSORY
It remains to tie
Bunny bow or flower.
For a bow, we draw a chain of 4 ch + 1 ch, then we knit in rotary rows to the desired length (I got 24 rows). Change the thread and tie the fabric according to the scheme (see photo), hook
we introduce every 2 rows, we tie the sides of the sc, introducing a hook into each loop of the previous row. Then we sew the side parts and wrap the middle of the bow with the same thread, sew it.
Flower
1p – 12 CH into magic ring;
2p – (2 ch, 2 CH, 2 ch, sl-st) * 6;
3p – we knit from the back of the flower – (3 ch, 2 C2H, 3 ch, sl-st) * 6.
You use threads that you like. I had the 1st row
knitted with a yellow thread, the second – white, the third – blue. After that, decorate the flower with a button and sew or glue it to the head.
That’s all!!!
Zayushka is ready!
Thanks to everyone who
tied her with me!